

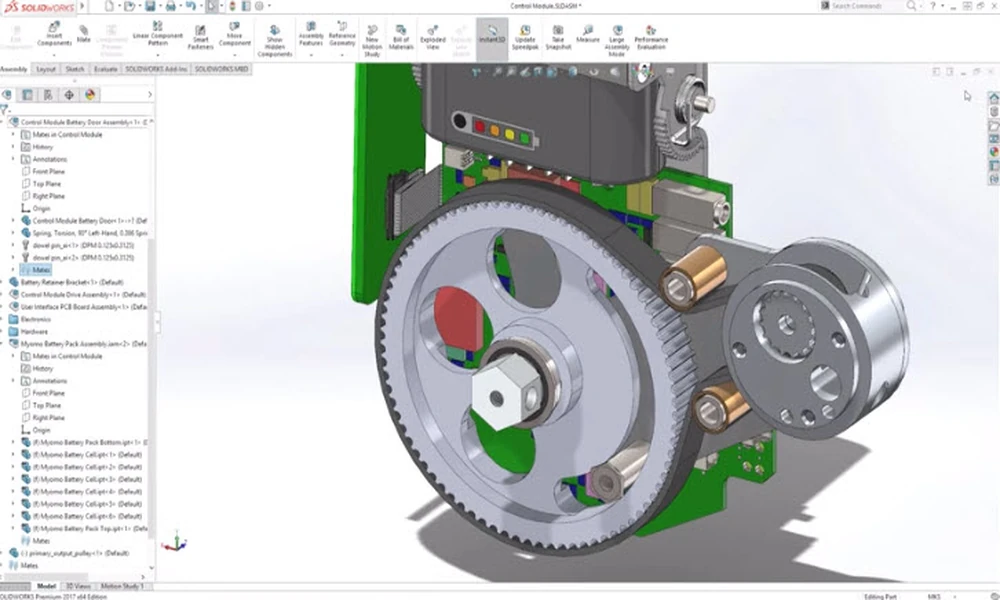
Getting Started with SOLIDWORKS
Whether you are a student, designer, engineer, or manufacturer, installing SOLIDWORKS is the first step toward creating professional 3D designs and engineering projects. While many users assume the installation process is complicated, proper preparation can help you complete the setup quickly and efficiently.
This guide outlines the key steps to help you download SOLIDWORKS and get the software running in less than 30 minutes under normal conditions.
Step 1: Verify System Requirements
Before downloading any files, confirm that your computer meets the recommended hardware and software requirements. A compatible operating system, sufficient RAM, adequate storage space, and a supported graphics card help ensure a smooth installation experience.
Checking system compatibility beforehand can prevent installation errors and improve software performance after setup.
Step 2: Prepare Your Computer
Close unnecessary applications and ensure you have administrator access on your computer. This reduces the chance of interruptions during installation and allows the installer to make required system changes.
It is also helpful to verify that your internet connection is stable, especially if installation files need to be downloaded directly from an online source.
Step 3: Download the Installation Files
The next step is to obtain the correct installation package based on your license type. Students, evaluation users, and commercial customers may have different download options available.
When you download SOLIDWORKS, ensure that all required installation files are fully completed before launching the installer. Interrupted downloads can sometimes result in missing files or installation failures.
Step 4: Run the Installation Manager
SOLIDWORKS uses an Installation Manager that guides users through the setup process. Follow the prompts carefully, select the desired products, and choose the appropriate installation options.
Most users can proceed with standard installation settings unless their organization requires custom configurations.
Step 5: Activate and Verify
After installation is complete, activate your license if required. Once activated, launch SOLIDWORKS and verify that the software opens correctly.
Taking a few minutes to confirm licensing, updates, and basic functionality can help prevent issues later.
Tips for a Faster Installation
Using a modern computer, a fast internet connection, and a solid-state drive can significantly reduce installation time. Keeping your operating system updated and temporarily disabling unnecessary background applications may also improve performance.
Start Designing with Confidence
Installing SOLIDWORKS does not need to be a lengthy process. With proper preparation and a compatible system, many users can complete the download, installation, and activation process quickly.
By following these steps, you can spend less time troubleshooting and more time using SOLIDWORKS to design, collaborate, and develop innovative products in 2026 and beyond.
