

As a kitchen designer, I have developed many secrets for creating a successful kitchen remodel. Read on for some of my tips for getting the details of your kitchen — the hood, appliances and lighting — just right. Which one would you try in your home?
Before we get started on the details, I have one overall bit of advice: select finishes that you love, regardless of what is trending. Recently, I bumped into an old client and asked if she still loved her chartreuse kitchen seven years later. She does, and chartreuse is still her favorite color. Remember that trends come and go, and select the finishes that make you happy. Now on to design tips for your kitchen remodel.
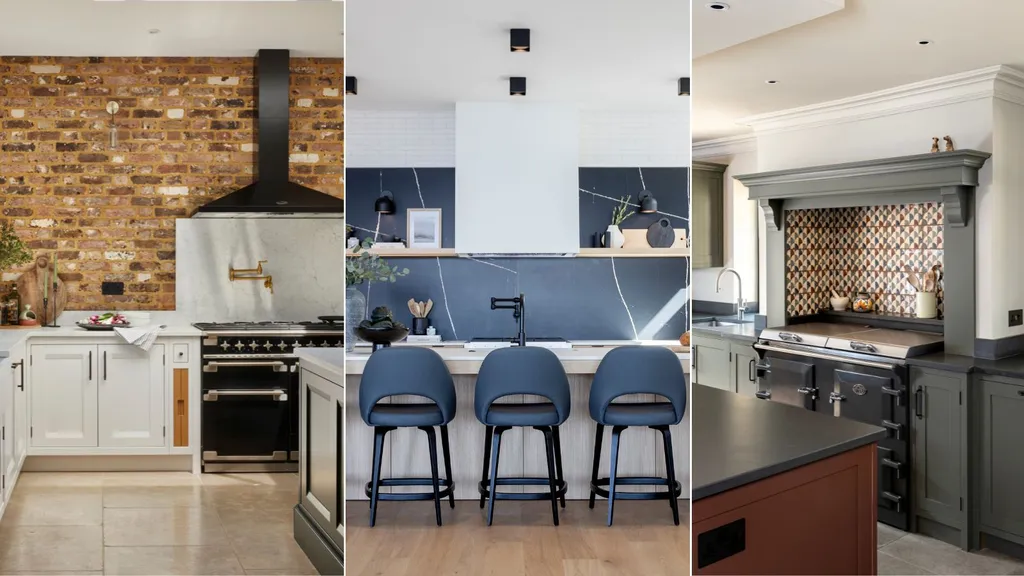
Range Hood Strategies
1. Use door restrictors
Because of the hood’s projection, opening doors on any wall cabinets directly adjacent to it will risk hitting the hood. To prevent damage to your cabinet doors, you have two choices. You can install a restrictor on the door nearest to the hood, limiting its opening angle to 90 degrees. Alternatively, you can opt for doors that swing away from the hood.
2. Consider a ceiling hood
In previous times, when a cooktop was situated on the island, the primary ventilation option, aside from a downdraft, was to install a kitchen hood directly above the island. However, this often resulted in the hood becoming a prominent feature, sometimes obstructing sightlines. Nowadays, I recommend ceiling hoods as a solution to mitigate this concern.\
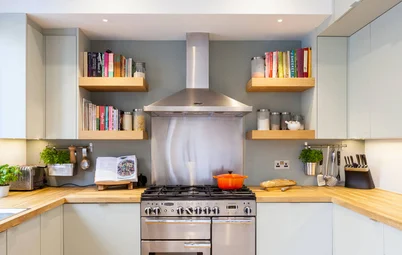
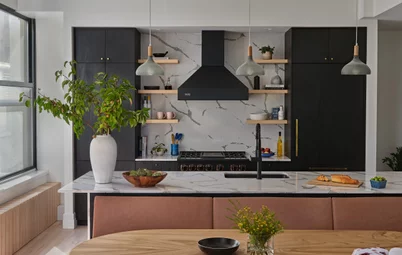
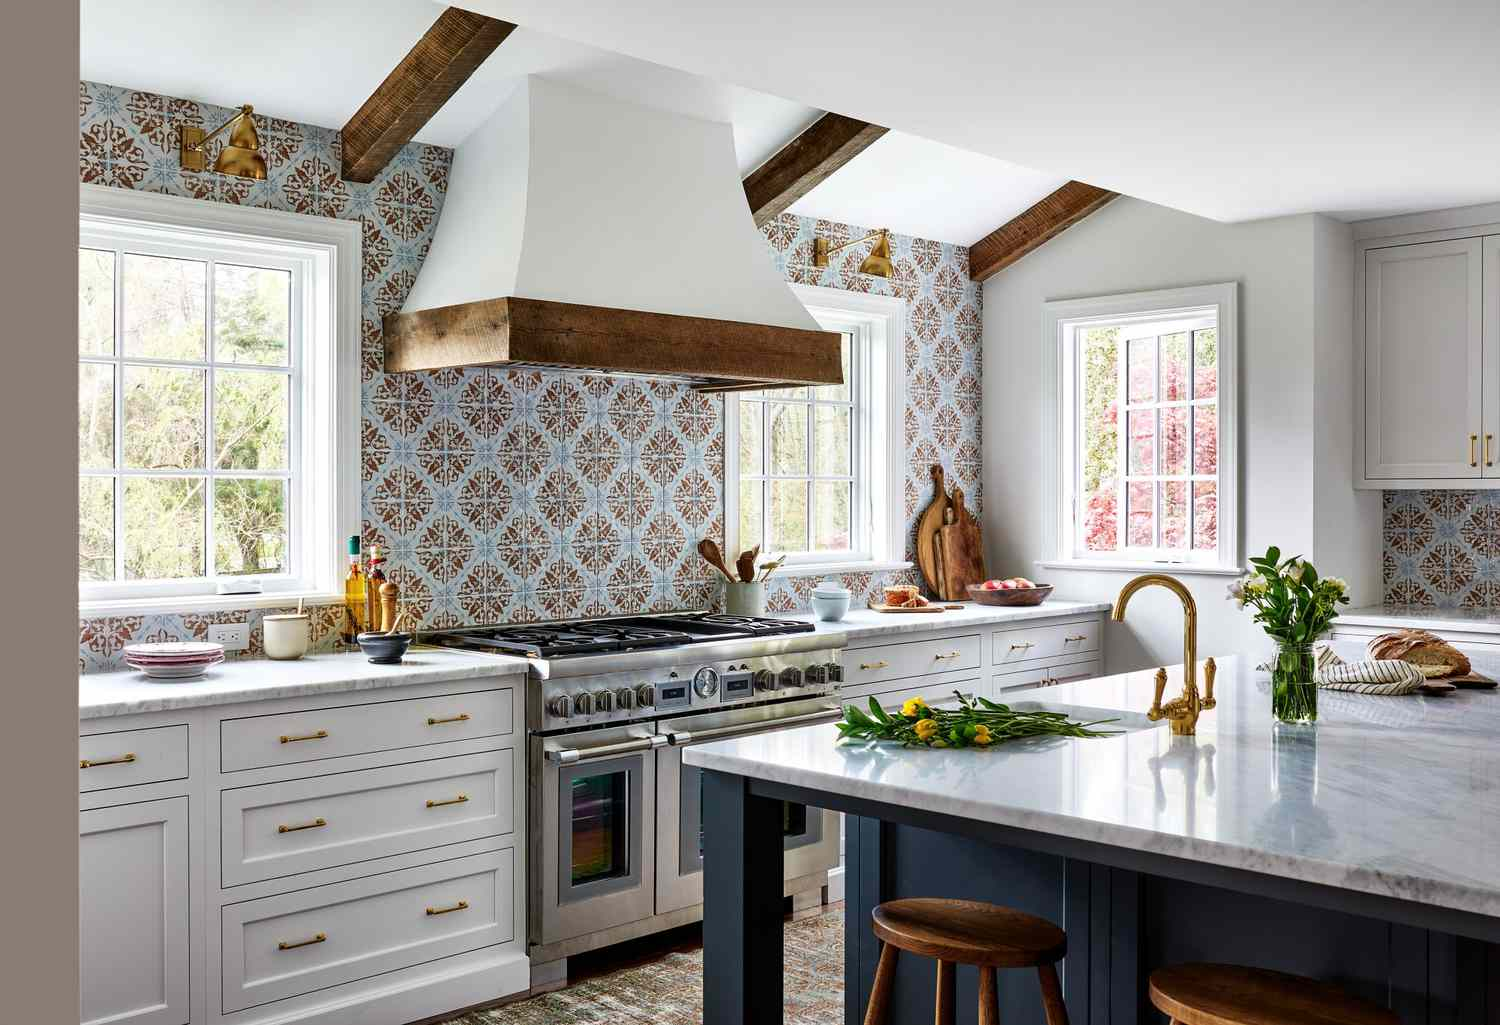
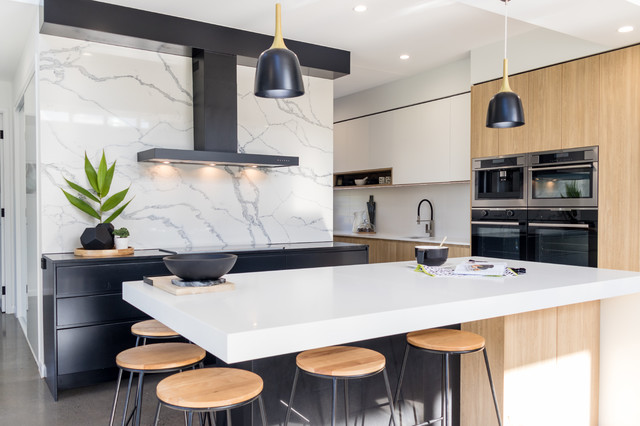
3. Get a larger hood
Take into account an enlarged hood, similar to the one depicted in this photo. A larger hood serves two purposes: Firstly, it acts as a broader canopy, effectively capturing more grease and odor compared to a hood precisely sized to your range or cooktop. Secondly, it widens the gap between adjacent cabinets, visually enhancing the sense of openness in the kitchen space.
Appliance Placement
Designing a stunning kitchen is achievable for anyone, but it’s crucial to prioritize functionality as well. Pay close attention to the placement of your appliances to ensure optimal functionality.
4. Get your microwave height right
Microwaves are frequently positioned too high, while warming drawers tend to be placed too low. For most individuals, an ideal height for a microwave is no more than 48 inches above the floor—unless, of course, you’re as tall as LeBron James!
5. Move the warming drawer up
There was an era when the warming drawer was commonly positioned beneath the double oven stack, which seemed practical as it was close to the ovens. However, as time passed, many individuals stopped using them due to their low placement, which made accessibility difficult. Nowadays, functionality takes precedence. Optimal placement involves positioning your warming drawer at counter level, conveniently near your cooking appliance.
Lighting Solutions
6. Uplighting
Not all cabinetry extends to the ceiling. Previously, a typical solution was to add a soffit to bridge the gap, although not everyone appreciates this aesthetic. An alternative approach involves utilizing uplighting, which introduces ambient lighting when the area above the cabinetry remains open. It’s worth noting that for optimal reflection off the ceiling, a minimum clearance of 12 inches is recommended; otherwise, it may result in a halo effect above the cabinets.
7. Pendant height
Unfortunately, there’s no one-size-fits-all answer for the ideal height of island pendants. Several factors come into play, including the design of the pendant and the sightline height of the kitchen users. Typically, pendants should hang 30 to 40 inches above the island countertop. It’s advisable to measure from the top of the island’s counter rather than from the ceiling since ceiling heights vary.
Extra Details That Count
8. Bar stools
With numerous bar stool styles available, prioritize selecting stools with backs if you intend to dine at the island. Back support enhances comfort for extended sitting periods. Additionally, opt for stools with swivel functionality for added convenience and flexibility.
9. Pot fillers
In the past, my rule regarding pot fillers was simple: If it’s installed, it must be utilized. As for its placement height, I suggest measuring your tallest pot and adding an inch or two for clearance. Additionally, ensure the pot filler is on-site before your contractor plumbs the waterline.
Pot filler with a downspout
Pot fillers come in various configurations. Some feature a spout taller than the water source, while others have a downspout and necessitate the waterline to be positioned higher.